Master Smooth Caramel Sauce: The Wet Method to Avoid Graininess
There's an undeniable magic to homemade caramel sauce. Its rich, buttery sweetness, coupled with a luxurious, velvety texture, elevates everything it touches – from a simple scoop of vanilla ice cream to a decadent cheesecake or even a drizzle in your morning coffee. Yet, for many home cooks, the idea of making caramel conjures images of burnt sugar, seized lumps, and a stubbornly grainy texture. These common pitfalls can feel daunting, leading many to shy away from crafting this golden delight from scratch.
However, achieving a truly magnificent, silken caramel is far more accessible than you might think, especially when you master a technique known as the "wet method." This approach, revered by culinary experts for its foolproof nature, dramatically reduces the risk of crystallization and uneven cooking, allowing even novice bakers to produce a professional-quality
rich & creamy caramel in about 15 minutes. Say goodbye to grainy disappointments and hello to perfectly smooth, pourable caramel every time.
The Wet Method: Your Secret to Silky Smooth Caramel
Traditional caramel-making often involves the "dry" method, where granulated sugar is heated by itself in a pan. While achievable with meticulous attention, this technique is prone to challenges. Sugar heats unevenly, leading to some crystals burning while others remain unmelted, and it can easily crystallize or "seize," resulting in a gritty, unappealing texture. Many a culinary school nightmare has been born from a batch of dry caramel gone wrong!
The "wet method" offers a serene alternative. Instead of heating sugar alone, you melt the sugar in a small amount of water. This simple addition makes a profound difference:
- Even Heating: The water helps dissolve the sugar crystals evenly, ensuring that the entire mixture heats uniformly. This significantly reduces the chances of hot spots and localized burning.
- Reduced Crystallization Risk: As the water evaporates, it washes down any sugar crystals clinging to the sides of the pan, preventing them from seeding new crystals and causing the entire batch to become grainy.
- Foolproof Process: The gentle, controlled melting process provides more leeway, making it much easier to achieve that perfect amber hue without fear of instant scorching.
Crucially, the water completely evaporates during the cooking process, leaving behind pure, caramelized sugar. It doesn't dilute the flavor or affect the final texture of your exquisite
homemade caramel sauce. This technique is a game-changer, especially when you're aiming for a consistently smooth caramel sauce recipe without the need for a candy thermometer.
Essential Tools & Ingredients for Caramel Success
Before you embark on your caramel-making adventure, gathering the right equipment and ingredients is key to a seamless process. Preparation makes all the difference!
The Right Pan Makes All the Difference
Your choice of saucepan is paramount.
- Heavy-Bottomed: A heavy-bottomed pan, ideally stainless steel or copper, distributes heat much more evenly than a thin-bottomed one. This prevents "hot spots" that can burn portions of your sugar while other parts are still melting.
- Tall-Sided: As the sugar mixture boils and bubbles, especially when you add the cream, it can expand rapidly. A tall-sided pan (at least 3-quart, but a 4-quart is even better) provides ample room, preventing boil-overs and dangerous splatters of extremely hot sugar.
- Cleanliness: Start with an impeccably clean pan. Even a tiny sugar crystal or speck of debris can act as a "seed" for crystallization, ruining your smooth caramel.
Quality Ingredients for a Superior Caramel Sauce Recipe
While the list is short, the quality matters.
- Granulated Sugar: Standard white granulated sugar is all you need. Do not substitute with brown sugar, as its molasses content affects the caramelization process.
- Water: Tap water is perfectly fine for the wet method.
- Heavy Cream: This is crucial for achieving that rich, creamy texture. Always use room-temperature heavy cream. Cold cream added to hot sugar can cause the caramel to seize violently, creating a solid, unworkable block. Measuring your cream in advance and letting it sit out for 20-30 minutes is a simple step that guarantees success.
- Unsalted Butter (Optional, but Recommended): A tablespoon or two of unsalted butter, added at the end, provides an incredible richness, gloss, and smoothness to the caramel. It’s an easy way to elevate your caramel sauce recipe.
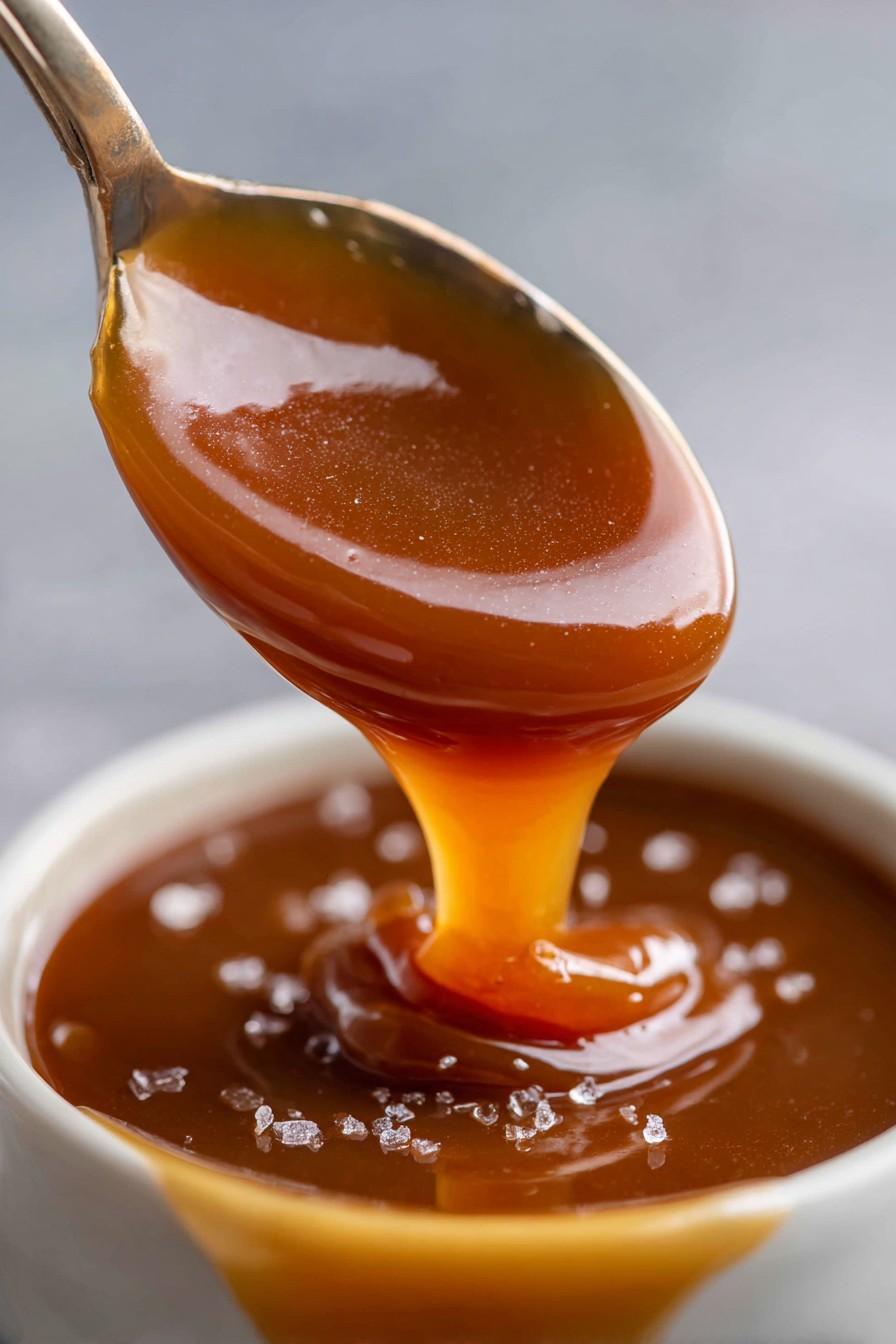
- Salt (Optional, but Recommended): For a truly balanced flavor, a pinch of sea salt transforms your caramel into a "salted caramel sauce." The salt beautifully cuts through the sweetness, enhancing its depth.
Handy Tools
- Heat-Resistant Rubber Spatula: Ideal for stirring the cream into the hot sugar and scraping down the sides of the pan. Its flexibility ensures you get every last drop.
- Whisk: Can be used for initial gentle stirring of sugar and water, and for whisking in the butter and salt at the end.
- Measuring Cups and Spoons: Essential for accurate ingredient proportions.
Step-by-Step: Crafting Your Perfect Caramel Sauce
With your mise en place complete (all ingredients measured and tools ready), you're set to create an irresistible
caramel sauce recipe.
Stage 1: Caramelizing the Sugar
- Combine Sugar and Water: In your clean, heavy-bottomed, tall-sided saucepan, combine the granulated sugar and water. Stir gently with a whisk or rubber spatula to ensure all the sugar is moistened.
- Heat and Dissolve: Place the saucepan over medium-high heat. Allow the mixture to come to a boil. At this stage, you want the sugar to fully dissolve in the water. Resist the urge to stir vigorously once it starts boiling. Stirring can introduce air bubbles and encourage crystallization. If you see sugar crystals clinging to the sides of the pan, you can gently brush them down with a clean, wet pastry brush or swirl the pan carefully.
- Boil and Observe Color: Let the mixture boil, undisturbed, until it begins to turn an amber color. This process might take 8-12 minutes, depending on your stove and pan. Initially, it will be clear, then take on a very pale yellow, progressing to a light golden, and finally a deep, rich amber. This is where the magic happens!
- Watch for the Perfect Shade: The color is your most reliable indicator. For a classic, rich caramel, aim for a deep golden to amber hue, similar to an old copper penny. The darker it gets, the deeper and more complex (and slightly bitter) the flavor will be. However, be cautious: caramel can go from perfect to burnt in a matter of seconds. As it approaches your desired color, watch it like a hawk. When you see it reach that ideal shade, immediately remove the pan from the heat. Remember, the residual heat in the pan will continue to cook the caramel for a few more seconds. If you're hesitant about using color alone, our guide on Foolproof Homemade Caramel Sauce: No Thermometer Needed offers more visual cues.
Stage 2: Adding the Cream and Finishing Touches
This stage happens quickly and requires your full attention.
- Slowly Add Room-Temperature Cream: With the pan *off the heat*, slowly and steadily stream in the room-temperature heavy cream while continuously stirring with your heat-resistant rubber spatula. Be prepared for a vigorous boil and a lot of steam – this is normal as the hot sugar reacts with the cooler (but not cold!) cream. Keep your face and hands away from the rising steam to avoid burns.
- Stir Until Smooth: Continue stirring until the cream is fully incorporated and the mixture is smooth. Any lumps of hardened caramel will melt back into the sauce with continued stirring.
- Incorporate Butter and Salt (Optional): If you're using butter and salt, now is the time to add them. Drop in the butter and stir until it's completely melted and incorporated, then add your pinch of salt and stir again. The butter will give the caramel a beautiful sheen and extra richness.
- Cool and Serve: Let the caramel sauce cool in the pan for about 10-15 minutes. It will thicken considerably as it cools. Once slightly cooled, carefully pour it into a clean, airtight jar or container. Your smooth, delicious rich & creamy caramel is ready to make any dessert shine!
Storage and Reheating
Your homemade caramel sauce can be stored in an airtight container in the refrigerator for up to 2-3 weeks. When you're ready to use it, simply reheat gently on the stovetop over low heat, stirring frequently, or in the microwave in 15-20 second intervals, stirring in between, until it reaches your desired consistency. If it's too thick, you can whisk in a tiny splash of milk or cream while reheating.
Troubleshooting Common Caramel Challenges
Even with the wet method, understanding potential issues can help you refine your technique.
- Grainy Caramel: The primary culprit here is often crystallization. With the wet method, this is less likely, but can still occur if you stir too much during the initial boiling phase, or if tiny sugar crystals from the outside of the pan fall back into the mixture. Ensure your pan is clean and avoid excessive stirring once boiling.
- Burnt Caramel: This happens when the sugar is cooked for too long or over too high a heat. Always remove the pan from the heat as soon as it reaches the desired amber color. Burnt caramel has an acrid taste and cannot be salvaged – you'll need to start fresh.
- Caramel Seizing: If your caramel turns into a hard, brittle mass when you add the cream, it's almost always due to the cream being too cold. The drastic temperature difference causes the sugar to solidify instantly. Always use room-temperature cream! While sometimes salvageable by gently reheating the seized caramel with a little extra warm cream until it melts down, it's best to prevent it.
- Too Thin or Too Thick: Caramel thickens as it cools. If it's too thin after cooling, you might have removed it from the heat a bit too early. You can try gently reheating it and cooking for another minute or so, watching the color carefully. If it's too thick, simply reheat it gently and whisk in a tablespoon or two of warm milk or cream until it reaches your desired consistency.
- Safety First: Hot sugar is incredibly dangerous and can cause severe burns. Always exercise extreme caution. Use long oven mitts, keep children and pets away from the stove, and be mindful of the steam when adding cream.
Conclusion
Embracing the wet method for your
caramel sauce recipe transforms what many perceive as a challenging culinary task into a joyful and rewarding experience. This simple technique, combined with careful attention to detail and a few key tips, virtually guarantees a rich, smooth, and utterly delicious caramel sauce every single time. Its versatility makes it an indispensable addition to your culinary repertoire, ready to elevate everything from everyday desserts to special occasion treats. So, cast aside your past caramel anxieties and confidently create your own golden, pourable masterpiece – your taste buds (and your guests) will thank you!